
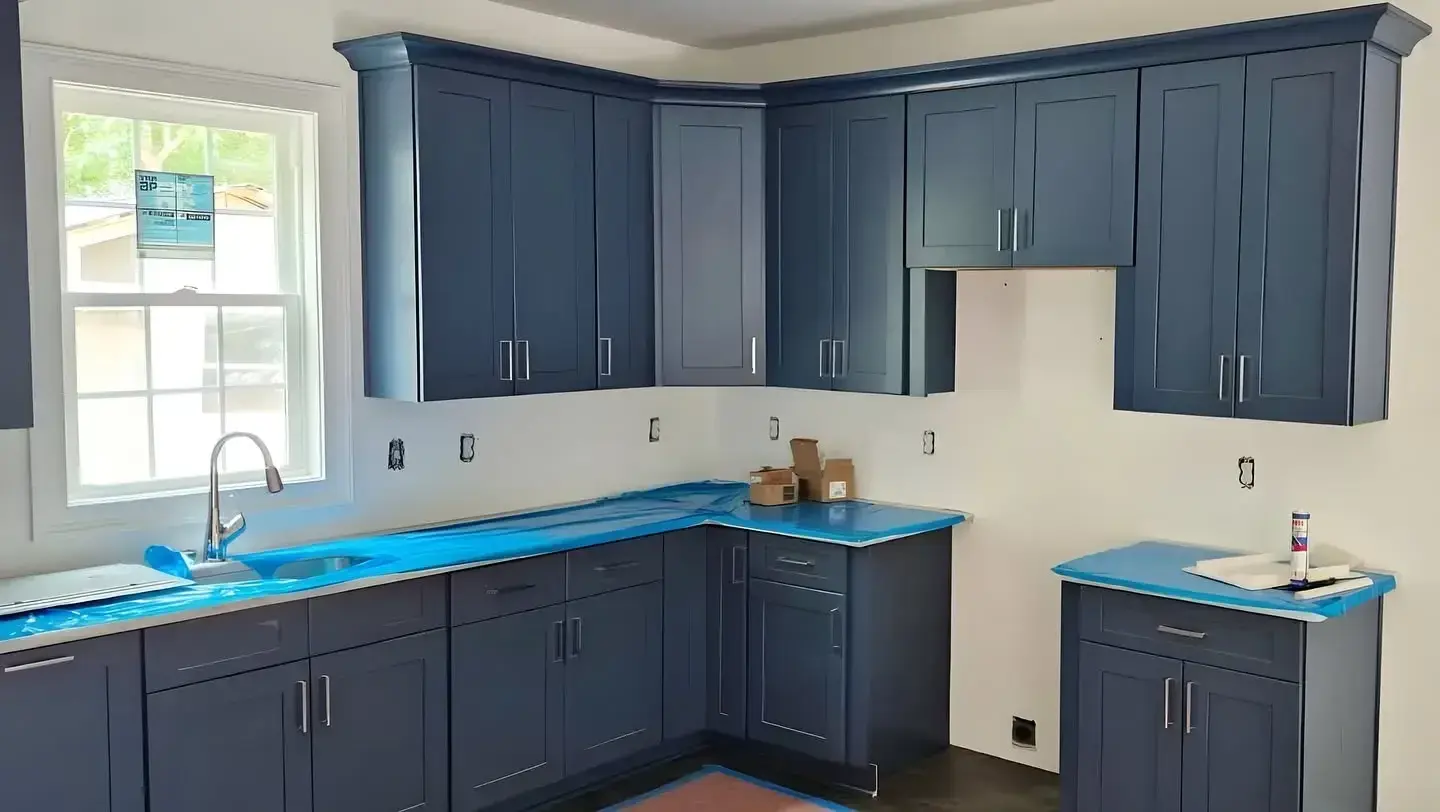
Proper Cabinet Installation: A Step-by-Step Guide
Proper cabinet installation is one of the most important steps in building a safe, functional, and long-lasting kitchen. Cabinets need to look straight and clean, but they also need to stay secure under daily use.
Well-mounted kitchen cabinets support storage, improve the layout, and help the whole room feel more polished. Poor installation can lead to uneven doors, gaps, weak support, and long-term safety problems.
The process may look simple at first, but it requires careful planning, accurate measurements, level lines, and the right tools. This is especially important during kitchen remodeling, when cabinets must work with appliances, countertops, plumbing, and the overall kitchen design.
This guide explains the main steps for preparing the wall, mounting upper cabinets, installing base cabinets, and completing final safety checks.
Preparing the Wall and Layout
Inspect the Wall First
Before installing cabinets, check the wall surface carefully.
The wall should be strong, flat, and ready to support the cabinet weight. Look for uneven spots, damaged drywall, moisture issues, or areas that may need repair before installation begins.
Cabinets should never be fastened to a weak or damaged wall. A strong surface is the foundation for a safe project.
Find and Mark the Studs
Cabinets must be secured into wall studs, not only drywall.
Use a stud finder to locate each stud, then mark the stud lines clearly. These marks will guide where the screws should go during installation.
This step is especially important for upper kitchen cabinets because they carry weight while hanging from the wall.
Check for Plumbing and Electrical Lines
Before drilling or fastening anything, check for plumbing, wiring, outlets, switches, and vents.
Some kitchen walls contain hidden lines that can create serious problems if damaged. If you are not sure what is behind the wall, it is better to ask a professional before continuing.
Careful planning helps prevent costly mistakes and safety risks.
Mark Level Reference Lines
Use a level to mark horizontal reference lines on the wall.
These lines help set the cabinet height and keep every cabinet aligned. A laser level can make this process easier, especially across a longer wall.
Accurate lines help prevent crooked cabinets, uneven gaps, and installation issues later.
How to Mount Upper Cabinets
Start With the Upper Cabinets
Many installers begin with the upper cabinets because it gives them more room to work before base cabinets are installed.
This also reduces the need to reach over lower cabinets during the process. It can make the job easier and safer.
Upper cabinets should be positioned carefully according to the layout marks.
Use Temporary Support
Upper cabinets are heavy and difficult to hold in place alone.
A temporary support rail, cabinet jack, or helper can hold the cabinet at the correct height while it is being secured. This makes it easier to keep the cabinet level and aligned.
Trying to lift and fasten a cabinet without support can lead to poor placement or injury.
Secure Cabinets Into Studs
Once the cabinet is positioned, fasten it securely into the wall studs.
Use the proper screws and check that each cabinet is level before fully tightening. Do not rely on drywall anchors for heavy wall cabinets.
When you mount cabinet sections correctly, the weight is supported by the structure of the wall rather than the surface material.
Connect Adjacent Cabinets
If several cabinets are installed side by side, they should be aligned and secured together.
Clamp the cabinets carefully before fastening them to each other. Check the front edges, tops, and bottoms to make sure they line up.
This creates a cleaner finished look and helps the cabinets function as one connected system.
Double-Check Level and Spacing
Before final tightening, check the cabinet level again.
Make sure spacing is consistent and that the cabinets match the planned layout. Small errors can become more noticeable once doors, trim, and hardware are added.
Taking extra time here helps create a professional result.
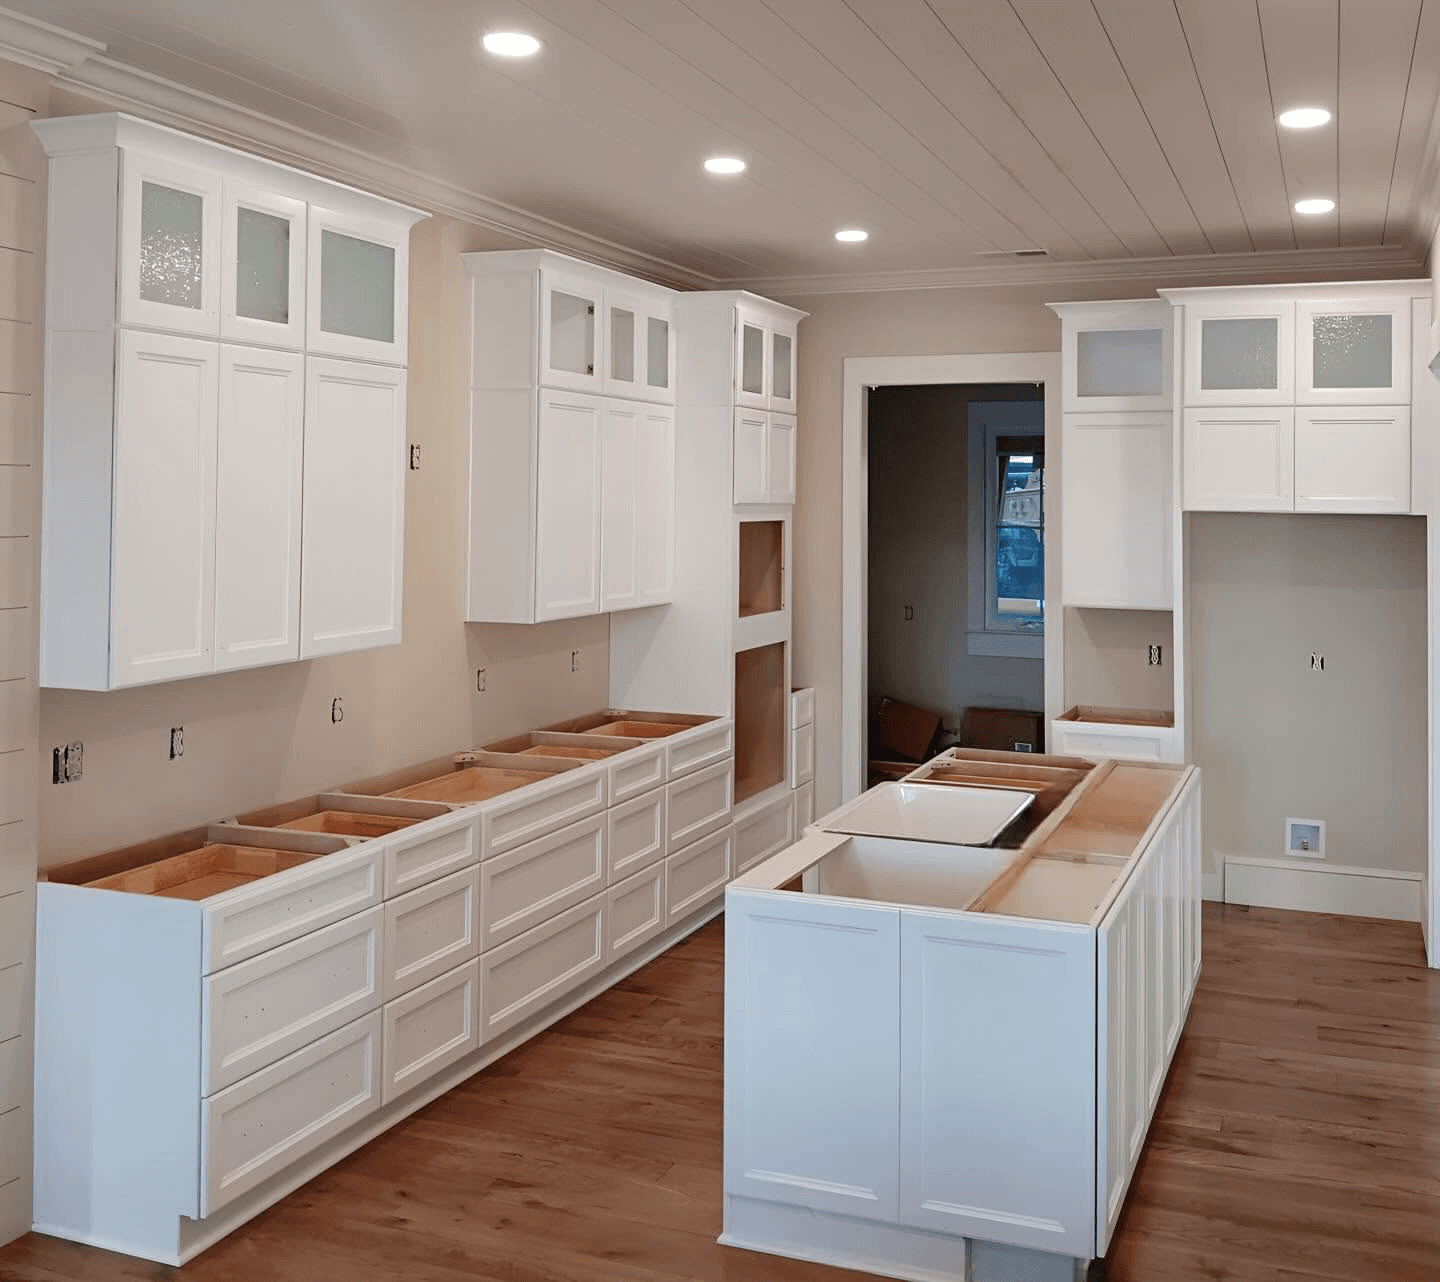
How to Install Base Cabinets
Start at the Highest Point of the Floor
Floors are not always perfectly level.
When installing base cabinets, begin at the highest point of the floor. This helps create a level starting point for the rest of the cabinets.
Shims can be used to adjust cabinets as needed and maintain a consistent height.
Position the First Cabinet Carefully
The first base cabinet sets the line for the rest of the layout.
Place it according to the plan, check that it is level from side to side and front to back, and make sure it lines up with the wall marks.
A mistake at the beginning can affect the entire row of cabinets.
Secure Base Cabinets to the Wall
After leveling the cabinet, fasten it into the wall studs.
Base cabinets also need secure attachment, especially because they support countertops, sinks, appliances, and daily use.
A stable cabinet base is essential for a strong countertop installation later.
Connect Each Cabinet Together
Adjacent base cabinets should be clamped, aligned, and fastened together.
Check the front faces and top edges as you go. The cabinets should form a smooth and even line.
Good alignment is important because countertops need a flat and stable surface.
Leave Space for Appliances
Base cabinet installation must account for appliances like dishwashers, ranges, refrigerators, and sinks.
Measure carefully to keep the correct openings. If an opening is too tight or too wide, appliance installation may become difficult.
Accurate spacing helps the kitchen function correctly after the project is complete.

Final Adjustments and Safety Checks
Check Cabinet Stability
After all cabinets are installed, test each one for stability.
Make sure every cabinet is securely attached to the wall and properly connected to nearby cabinets. There should be no wobbling, shifting, or loose sections.
This step helps confirm that the cabinets are ready for daily use.
Adjust Doors and Drawers
Cabinet doors and drawers may need small adjustments after installation.
Check that doors open and close smoothly. Make sure drawer fronts are even and that gaps are consistent.
Most modern hinges allow small adjustments to improve alignment.
Tighten Hardware
Check screws, hinges, brackets, and drawer slides.
Loose hardware can create problems over time. Tightening everything after installation helps improve performance and prevents early wear.
This is a simple but important final step.
Inspect Gaps and Seams
Look for gaps between cabinets, walls, and trim areas.
Some small gaps can be covered with filler strips, molding, or caulk depending on the design. Larger gaps may indicate measurement or alignment issues that need correction.
A clean final finish makes the kitchen look more professional.
Review Weight and Safety
Cabinets are used every day and often hold heavy dishes, cookware, food, and cleaning products.
Make sure the installation can support normal household use. If anything feels unstable, it should be corrected before the cabinets are loaded.
For the best result, many homeowners choose to work with a cabinets expert instead of attempting a complex installation alone.
Work With Cabinet Connect of Upstate
Cabinet Connect of Upstate helps homeowners plan cabinet layouts, review styles, and complete cabinet projects with professional support.
The team can help with design decisions, measurements, cabinet selection, and installation planning. This makes the process easier and reduces the risk of costly mistakes.
If you are planning new cabinets or need help with installation, contact Cabinet Connect of Upstate.
Visit the showroom, schedule a consultation, or request a quote to get professional support for your next kitchen cabinet project.